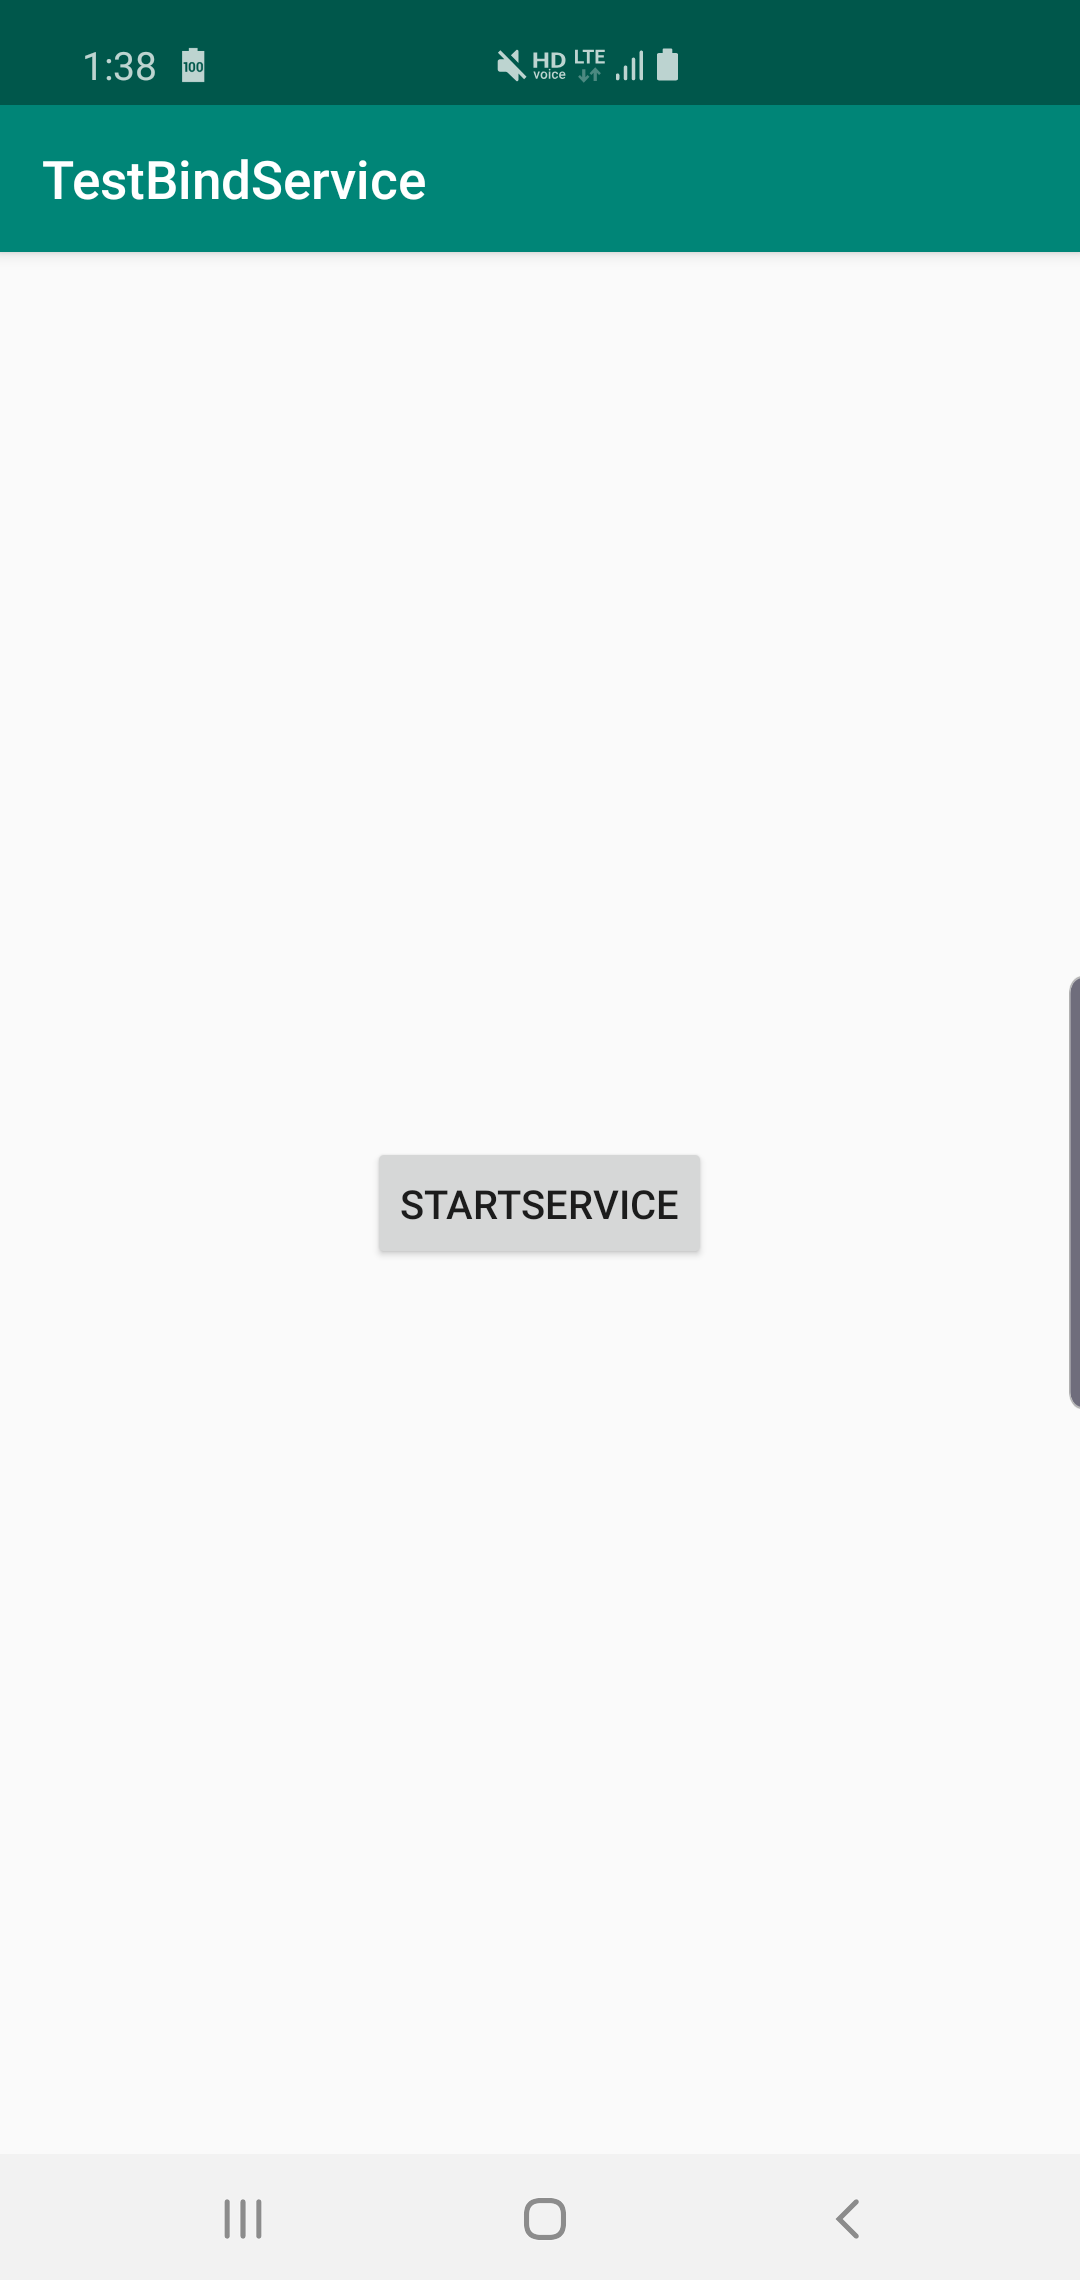
이번에 안드로이드 서비스에 대해서 정리해보도록 하겠습니다. 해당 내용은 안드로이드 공식 홈페이지의 안드로이드 서비스를 참고하여 작성하였습니다.
서비스란?
안드로이드에서 서비스는 안드로이드의 대표 컴포넌트 중 하나로 백그라운드에서 필요한 작업시 사용할 수 있는 컴포넌트 입니다.
시작된 서비스- 설명 : 백그라운드에서 실행하도록 함, 한번 시작된 서비스는 백그라운드에서 무기한으로 실행될 수 있습니다. 보통 작업 결과를 호출자에게 반환하지 않기 때문에, 호출자와 상호작용하는 작업에는 적합하지 않습니다. 작업이 끝나면 서비스는 자동으로 소멸합니다.
- 호출 메서드 :
startService() - 콜백 메서드 :
onStartCommand()
바인드된 서비스- 설명 : 바이드된 서비스는 Client-Server 인터페이스를 제공하여 구성 요소와 서비스간 상호 작용을 할 수 있습니다. 작업 결과를 호출자에게 전달할 수 있고
프로세스간 통신(IPC)를 수행할 수도 있습니다. 바인딩 된 구성 요소가 모두 바인딩을 해제하면 서비스는 소멸합니다, 바인딩을 하려면 서비스와의 연결을 모니터링하는
ServiceConnection의 구현을 해야합니다. 안드로이드 시스템이 클라이언트와 서비스 사이의 연결을 생성하는 경우, 시스템은onServiceConnected()를ServiceConnection에서 호출하여 클라이언트가 서비스와 통신하는 데 사용할 수 있도록IBinder를 전달합니다. - 호출 메서드 :
bindService() - 콜백 메서드 :
onBind() - 구현 해야하는 클래스 :
ServiceConnetion - IBinder 생성 방법
바인더 클래스 확장: 동일한 프로세스 내에서 서버-클라이언트 형태로 상호작용 하는 경우 사용하는 방식입니다. (대부분)메신저 사용: 여러 프로세스에서 적용되도록 할 때 사용하는 방식입니다,IPC(프로세스간 통신)를 구현하는 가장 간단한 방법입니다.AIDL 사용: 여러 프로세스에서 적용되어야 할 때 객체를 OS가 이해할 수 있는 원시 유형으로 해체한 다음 여러 프로세스에 걸쳐 마샬링하여 IPC를 수행 하지만 대부분의 경우에는 바인드된 서비스를 사용하기 위해서AIDL을 사용하지 않습니다.
- 설명 : 바이드된 서비스는 Client-Server 인터페이스를 제공하여 구성 요소와 서비스간 상호 작용을 할 수 있습니다. 작업 결과를 호출자에게 전달할 수 있고
프로세스간 통신(IPC)를 수행할 수도 있습니다. 바인딩 된 구성 요소가 모두 바인딩을 해제하면 서비스는 소멸합니다, 바인딩을 하려면 서비스와의 연결을 모니터링하는
** 마샬링
객체의 메모리 구조를 저장이나 전송을 위해서 적당한 자료형태로 변형하는 것을 의미한다.
Marshalling 은 보통 서로 다른 컴퓨터 혹은 서로 다른 프로그램 간에 데이터가 이동되어야 할 경우 사용된다.
Marshalling 을 수행함으로써 복잡한 통신, 사용자 정의/복잡한 구조의 객체들을 사용하는대신,
단순한 primitive 들을 사용할 수 있다. Marshalling 의 반대말은 Unmarshalling 이라고 한다.
서비스 생성시 AndroidManifest.xml에 선언이 되어 있어야 합니다.
<?xml version="1.0" encoding="utf-8"?>
<manifest xmlns:android="http://schemas.android.com/apk/res/android"
          package="com.byjw.testbindservice">

    <application
            android:allowBackup="true"
            android:icon="@mipmap/ic_launcher"
            android:label="@string/app_name"
            android:roundIcon="@mipmap/ic_launcher_round"
            android:supportsRtl="true"
            android:theme="@style/AppTheme">

        <service
                android:name=".messenger.MessengerService"
                android:enabled="true"
                android:exported="true">
        </service>

    </application>

</manifest>
서비스 생명 주기

출처 : 서비스 - 구글 공식 문서
시작된 서비스onCreate(): 서비스가 생성될 때 가장 먼저 호출되는 콜백 메서드로, 서비스 자신의 초기 설정을 합니다.onStartCommand():startService()를 호출하면 이 콜백 메서드가 호출이 됩니다. 이 부분에서Intent를 전달받습니다.START_NOT_STICKY: 시스템이 서비스를 강제 종료할 때 다시 재생성하지 않습니다.START_STICKY: 시스템이 서비스를 강제 종료 할 시 재생성합니다.START_REDELIVER_INTENT: 시스템이 서비스를 강제 종료할 시 재생성하고onStartCommand()를 호출 및 마지막Intent를 전달 합니다.
onDestroy(): 서비스가 소멸될 때 호출이 되는 콜백 메서드로,stopSelf()를 호출하거나 작업이 끝나면 호출됩니다.
바인드된 서비스onCreate(): 서비스가 생성될 때 가장 먼저 호출되는 콜백 메서드로, 서비스 자신의 초기 설정을 합니다.onBind():bindServie()를 호출하면 호출이 되는 콜백 메서드로, 이 메서드에서 클라이언트가 서비스와 상호작용하는 데 사용되는 IBinder 객체를 반환합니다. 사용하지 않는다면null을 반환 합니다.onUnbind(): 바인딩 된 모든 요소가 끊어지면 호출이 되며, 기본 구현은 아무것도 하지않고false를 반환합니다.onDestroy(): 서비스가 소멸될 때 호출이 되는 콜백 메서드로, 바인딩된 모든 요소들이 바인딩을 해제하면 호출 됩니다.
서비스에 바인딩
서비스에 바인드 하려면 bindService()를 호출하고 서비스에서 onBind() 에서 IBinder를 반환하면 되는데, 이를 위해서
클라이언트에서 ServiceConnection 인스턴스를 생성하여 bindService를 통해 전달해야 합니다.
bindService(): 서비스에 바인드하기 위해 호출onBind(): 서비스에서 바인드 될때 호출,IBinder를 반환해야하는데 바인드하지 않으려면null반환ServiceConnection: 서비스와의 연결을 모니터링, 아래 두 메서드를 오버라이딩 해야함onServiceConnected(): 시스템이 이 메서드를 호출하여 서비스의 onBind() 메서드가 반환한IBinder를 전달합니다.onServiceDisconnected(): 안드로이드에서 이것을 호출하는 경우는 서비스와의 연결이 예상치 못하게 중단되었을때 입니다. 바인딩을 해제한다고 이 메서드가 호출되지는 않습니다.
unbindService(): 바인딩을 해제할 때 호출합니다.
바인드된 서비스 생명 주기
서비스가 모든 클라이언트로부터 바인딩이 해제되면 Android 시스템이 이를 소멸시킵니다. 기본적으로 안드로이드 시스템이 바인드된 서비스의 생명 주기를 관리해주기 때문에 별도로 관리할 필요는 없습니다.
대신 onStartCommand() 콜백 메서드를 함께 구현하는 경우에는 서비스를 확실히 중지 시켜야 합니다. 이건 바인드된 서비스와 시작된 서비스가 같이
시작된걸로 간주하기 때문에 stopSelf()를 호출하여 직접 종료를 하거나 외부에서 stopService()를 호출하여 중지 시켜야 합니다.
서비스가 시작되고 바인딩을 허용할 경우에는 클라이언트가 서비스에 바인드 할 때 onRebind()에 대한 호출을 받기 위해서 시스템이 onUnbind() 메서드를
호출할때 선택적으로 true를 반환할 수 있습니다.
onRebind()는 void를 반환하지만 클라이언트는 여전히 onServiceConnected() 콜백에서 IBinder를 수신합니다.

출처 : 구글 공식 문서
서비스 바인딩시 참고 사항
- 액티비티가 눈에 보이는 동안에만 서비스와 상호작용해야 한다면 :
onStart()에 바인드,onStop()에서 바인드 해제 - 백그라운드에서 중단되었을 때 액티비티가 응답을 받아야 한다 :
onCreate()에는 바인드onDestroy()에서 바인드 해제 - 주의 : 일반적으로 액티비티의
onResume()와onPause()에는 바인드하거나 바인딩을 해지하지 말아야 합니다. 만약에 두 생명주기에 바인딩을 하거나 바인딩을 해지하는 경우에 액티비티가 바인드하기전에 서비스가 제거되었다가 다시 생성될 수 있기 때문입니다.
IntentService
여러 요청을 동시에 처리하지 않으면서 상호작용이 필요없는 시작된 서비스를 구현할때 IntentService 클래스를 사용하는것은 좋은 방안이 될 수 있습니다.
IntentService는 아래와 같은 특징을 같습니다.
기본 스레드와 별도의작업 스레드에서 실행이 됩니다.생성자와onHandleIntent()만 구현하면 됩니다.- 모든 작업 처리 후 자동으로 서비스가 중단되기 때문에 개발자가
stopSelf()를 호출할 필요가 없습니다.
class HelloIntentService : IntentService("HelloIntentService") {

    override fun onHandleIntent(intent: Intent?) {
        try {
            Thread.sleep(5000)
        } catch (e: InterruptedException) {
            Thread.currentThread().interrupt()
        }

    }
}
ForegroundService
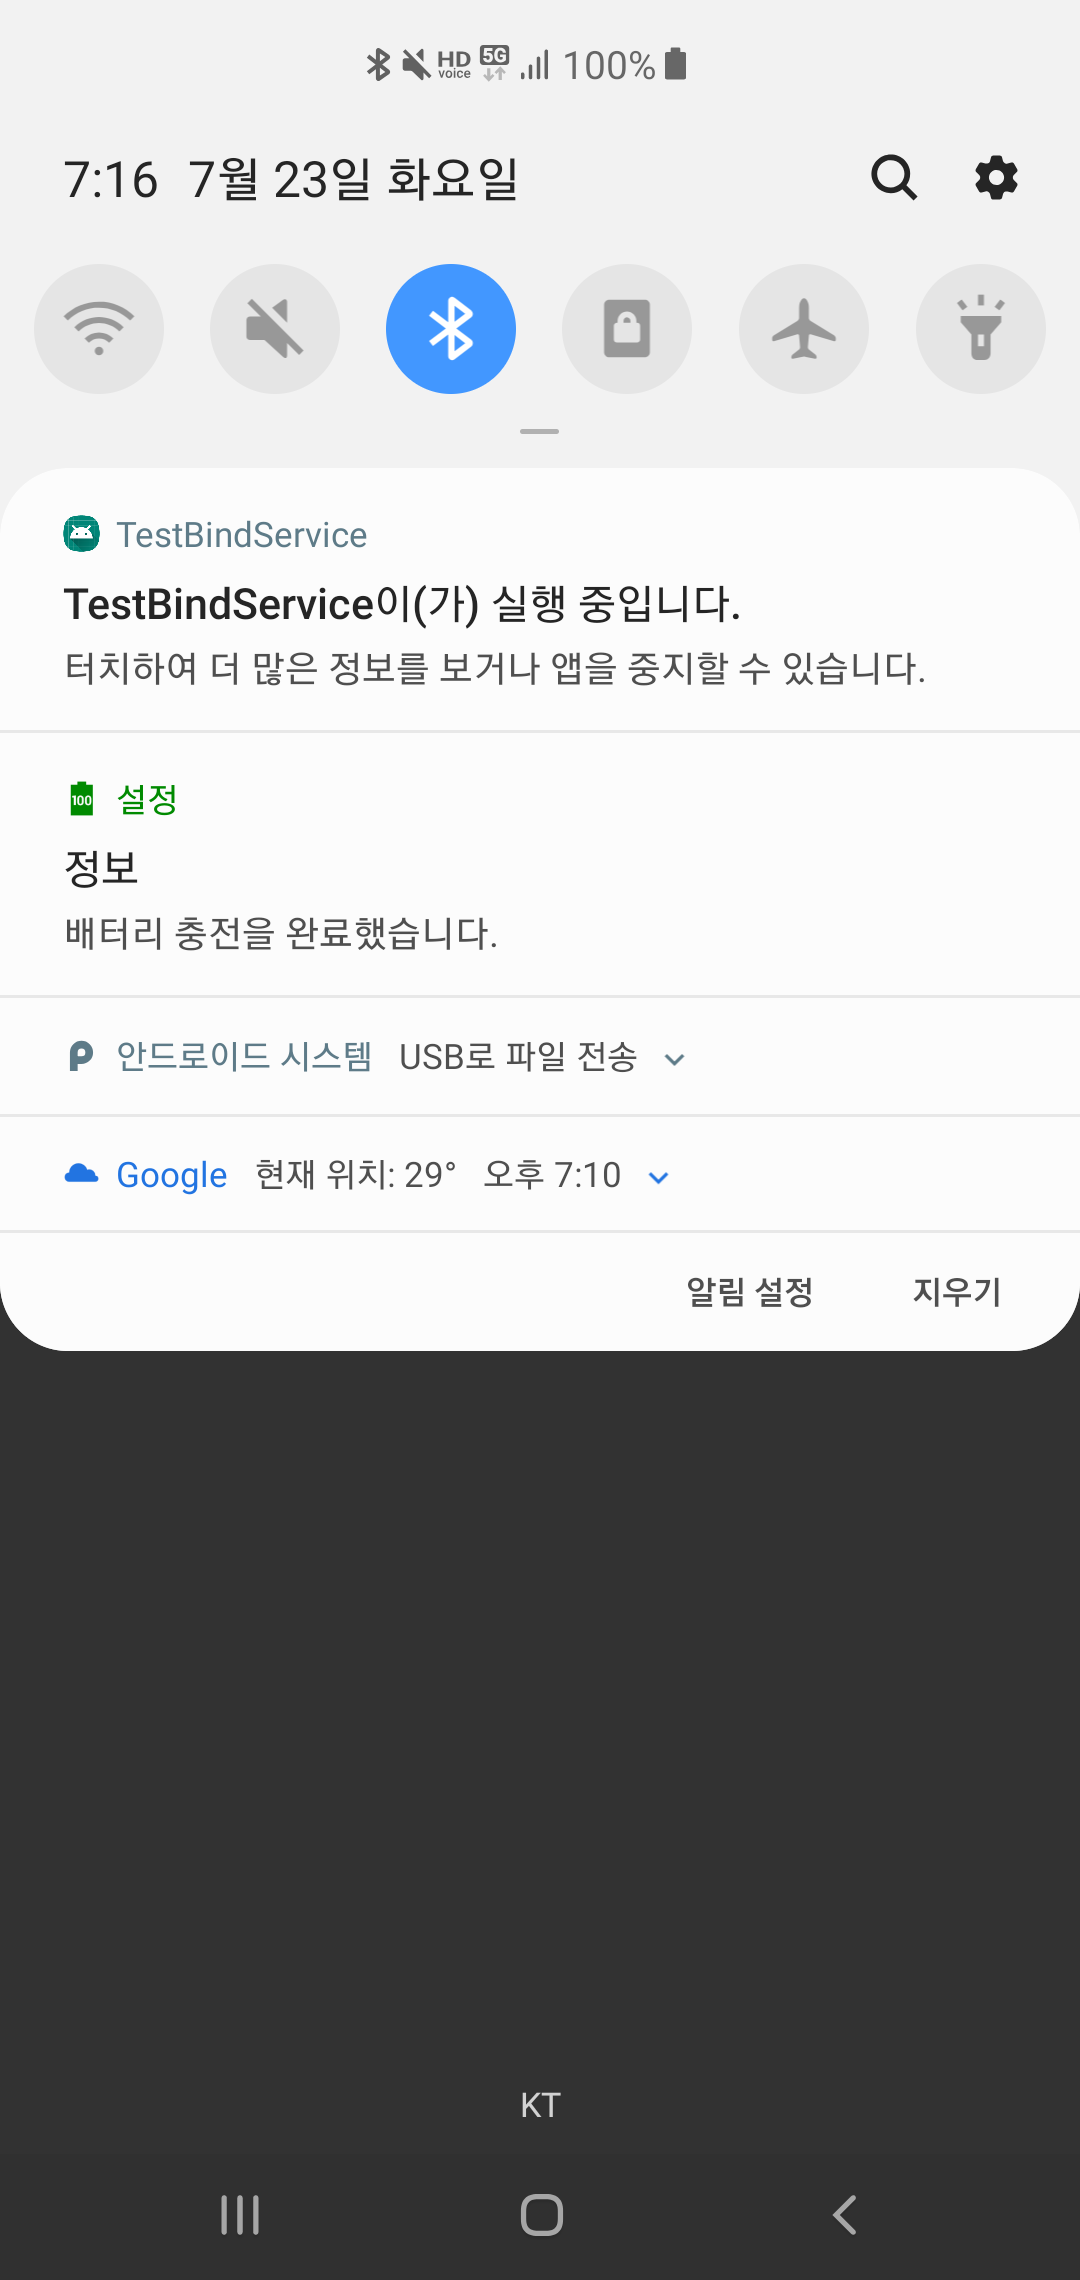
포그라운드 서비스는 사용자가 백그라운드에 서비스가 떠있는걸 인지할 수 있게 함으로써 시스템이 중단할 후보로 고려하지 않는 서비스를 말합니다. notification()을 만들어서 startForeground()를 호출하면 됩니다.
val pendingIntent: PendingIntent =
        Intent(this, ExampleActivity::class.java).let { notificationIntent ->
            PendingIntent.getActivity(this, 0, notificationIntent, 0)
        }

// 안드로이드 O 이상에서는 CHANNEL을 따로 만들어줘야 합니다.
val notification: Notification = Notification.Builder(this, CHANNEL_DEFAULT_IMPORTANCE)
        .setContentTitle(getText(R.string.notification_title))
        .setContentText(getText(R.string.notification_message))
        .setSmallIcon(R.drawable.icon)
        .setContentIntent(pendingIntent)
        .setTicker(getText(R.string.ticker_text))
        .build()

startForeground(ONGOING_NOTIFICATION_ID, notification)
코드 구현
이번에는 실제 코드로 구현하는 방법에 대해서 알아보도록 하겠습니다. 예제 코드는 구글 공식 문서를 참고하여 조금 수정하였습니다.
시작된 서비스 구현

구현 방법은 아래와 같습니다.
Service에서 바인드를 하지 않기 때문에onBind()에서는null을 반환Service에onStartCommand()를 구현,startService()가 호출되면onStartCommand()가 콜백됩니다.- 액티비티에서
startService()를 통해서 만들어진 서비스를 호출하면 됩니다.
package com.byjw.testbindservice.service

import android.app.Service
import android.content.Intent
import android.os.IBinder
import android.util.Log

class MyService : Service() {

    override fun onStartCommand(intent: Intent?, flags: Int, startId: Int): Int {
        Log.i("JW_TEST", "onStartCommand()")

        return START_STICKY // 서비스가 강제종료될 시 재생성합니다.
    }

    override fun onBind(intent: Intent): IBinder? {
        return null // 바인딩 하지 않기 때문에 null 반환
    }
}
[MyService.kt]
package com.byjw.testbindservice.service

import android.content.Intent
import android.support.v7.app.AppCompatActivity
import android.os.Bundle
import com.byjw.testbindservice.R
import kotlinx.android.synthetic.main.activity_service.*

class MyServiceActivity : AppCompatActivity() {

    override fun onCreate(savedInstanceState: Bundle?) {
        super.onCreate(savedInstanceState)
        setContentView(R.layout.activity_service)

        this.btn_service.setOnClickListener {
            val intent = Intent(this, MyService::class.java)
            startService(intent)
        }

    }
}
[MyServiceActivity.kt]
결과는 아래와 같이 로그가 찍히는걸 확인할 수 있습니다.

바인더 클래스 확장 구현

구현 방법은 아래와 같습니다.
서버 : BindingService.kt
클라이언트 : BindingActivity.kt
클라이언트(=액티비티)가 호출할 수 있도록 Service 내에Binder를 상속받는inner class를 만들고inner class내에 해당 서비스 인스턴스를 반환하는 메서드 생성onBind()콜백 메서드에서는 위에서 만든Binder를 상속받은 클래스의 인스턴스를 반환클라이언트(=액티비티)에서는ServiceConnection를 구현하여bindService()메서드를 통해서버(=서비스)와 바인딩클라이언트(=액티비티)에서서버(=서비스)와 상호 작용 (여기서는 토스트를 통해서 서비스로부터 받은 임의의 숫자 표시)클라이언트(=액티비티)에 바인딩 해제를 위한 부분 추가 (여기서는onStop()에서 바인딩을 해제)
package com.byjw.testbindservice.binder

import android.app.Service
import android.content.Intent
import android.os.Binder
import android.os.IBinder
import android.util.Log
import java.util.*

class BindingService : Service() {

    private val localBinder = LocalBinder()

    private val generator = Random()

    val randomNumber: Int
        get() = generator.nextInt(100)

    inner class LocalBinder : Binder() {
        fun getService(): BindingService = this@BindingService
    }

    override fun onBind(intent: Intent): IBinder {
        return localBinder
    }

}
[BindingService.kt]
package com.byjw.testbindservice.binder

import android.content.ComponentName
import android.content.Context
import android.content.Intent
import android.content.ServiceConnection
import android.support.v7.app.AppCompatActivity
import android.os.Bundle
import android.os.IBinder
import android.widget.Toast
import com.byjw.testbindservice.R
import kotlinx.android.synthetic.main.activity_binding.*

class BindingActivity : AppCompatActivity() {

    private lateinit var bindingService: BindingService
    private var bound: Boolean = false

    override fun onCreate(savedInstanceState: Bundle?) {
        super.onCreate(savedInstanceState)
        setContentView(R.layout.activity_binding)

        // 버튼이 눌렀을 때 서비스와 상호작용하도록 리스너 등록
        this.btn_binding.setOnClickListener {
            if (bound) {
                val num: Int = bindingService.randomNumber
                Toast.makeText(this, "number: $num", Toast.LENGTH_SHORT).show()
            }
        }
    }

    override fun onStart() {
        super.onStart()

        // 바인딩
        val intent = Intent(this, BindingService::class.java)
        bindService(intent, serviceConnection, Context.BIND_AUTO_CREATE)
    }

    override fun onStop() {
        super.onStop()

        // 언바인딩
        unbindService(serviceConnection)
        bound = false
    }

    private val serviceConnection = object : ServiceConnection {

        // 서비스와 연결되었을 때
        override fun onServiceConnected(className: ComponentName, service: IBinder) {
            val binder = service as BindingService.LocalBinder
            bindingService = binder.getService()
            bound = true
        }

        // 서비스와 연결해제되었을 때
        override fun onServiceDisconnected(arg0: ComponentName) {
            bound = false
        }
    }
}
[BindingActivity.kt]
메신저 사용 구현

구현 방법은 아래와 같습니다.
서버 : MessengerService.kt
클라이언트 : MessengerActivity.kt
서버(=서비스)안에클라인언트(=액티비티)로부터 각 호출에 대해 콜백을 받는Handler를 구현합니다.Handler를 사용하여Messenger 객체를 생성합니다.onBind에서 위에서 만든Messenger 객체를 반환합니다.클라이언트(=액티비티)에서는ServiceConnection을 구현하여 서버(=서비스)로부터 메신저를 전달 받도록 합니다.- 위에서 구현한
ServiceConnection을 이용하여bindService()를 통해서버(=서비스)와 바인딩을 합니다. - 전달받은 메신저를 통해
서버(=서비스)와 통신을 합니다. 클라이언트(=액티비티)에 언 바인딩을 위한 부분 추가 (여기서는onStop()에서 바인딩을 해제)
package com.byjw.testbindservice.messenger

import android.app.Service
import android.content.Context
import android.content.Intent
import android.os.Handler
import android.os.IBinder
import android.os.Message
import android.os.Messenger
import android.widget.Toast

const val MSG_SAY_HELLO = 1

class MessengerService : Service() {

    private lateinit var messenger: Messenger

    override fun onBind(intent: Intent): IBinder? {
        Toast.makeText(applicationContext, "binding", Toast.LENGTH_SHORT).show()
        messenger = Messenger(IncomingHandler(this))
        return messenger.binder
    }

    internal class IncomingHandler(
        context: Context,
        private val applicationContext: Context = context.applicationContext
    ) : Handler() {
        override fun handleMessage(msg: Message) {
            when (msg.what) {
                MSG_SAY_HELLO ->
                    Toast.makeText(applicationContext, "hello!", Toast.LENGTH_SHORT).show()
                else -> super.handleMessage(msg)
            }
        }
    }

}
[MessengerService.kt]
package com.byjw.testbindservice.messenger

import android.content.ComponentName
import android.content.Context
import android.content.Intent
import android.content.ServiceConnection
import android.os.*
import android.support.v7.app.AppCompatActivity
import com.byjw.testbindservice.R
import kotlinx.android.synthetic.main.activity_messenger.*

class MessengerActivity : AppCompatActivity() {

    private var messenger: Messenger? = null
    private var bound: Boolean = false

    override fun onCreate(savedInstanceState: Bundle?) {
        super.onCreate(savedInstanceState)
        setContentView(R.layout.activity_messenger)

        this.btn_messenger.setOnClickListener {
            sayHello()
        }

    }


    private fun sayHello() {
        if (!bound) return

        val message: Message = Message.obtain(null, MSG_SAY_HELLO, 0, 0)
        try {
            messenger?.send(message)
        } catch (e: RemoteException) {
            e.printStackTrace()
        }

    }

    private val serviceConnection = object : ServiceConnection {
        // 서비스와 연결되었을 때
        override fun onServiceConnected(className: ComponentName, service: IBinder) {
            messenger = Messenger(service)
            bound = true
        }
        // 서비스와 연결해제되었을 때
        override fun onServiceDisconnected(className: ComponentName) {
            messenger = null
            bound = false
        }
    }

    override fun onStart() {
        super.onStart()

        val intent = Intent(this, MessengerService::class.java)
        bindService(intent, serviceConnection, Context.BIND_AUTO_CREATE)
    }

    override fun onStop() {
        super.onStop()

        if (bound) {
            unbindService(serviceConnection)
            bound = false
        }
    }


}
[MessengerActivity.kt]
포그라운드 서비스 구현

구현 방법은 아래와 같습니다.
Service쪽에notification을 만들고startForeground()에notification을 전달해야합니다. (대신에안드로이드 O 이상은notification을 채널을 만들어야 합니다.)- 액티비티에서
startForegroundService()나startService()를 통해 만듭니다. (대신에안드로이드 O 이상은startForegroundService()를 호출해야 합니다.)
package com.byjw.testbindservice.foregroundService

import android.app.*
import android.content.Context
import android.content.Intent
import android.os.Build
import android.os.IBinder
import android.support.v4.app.NotificationCompat

const val CHANNEL_ID = "default_channel_id"
const val CHANNEL_NAME = "default_channel_name"

class MyForegroundService : Service() {

    override fun onStartCommand(intent: Intent?, flags: Int, startId: Int): Int {
        val notificationIntent = Intent(this, ForegroundServiceActivity::class.java)
        val pendingIntent: PendingIntent = PendingIntent.getActivity(this, 0, notificationIntent, 0)

        val builder: NotificationCompat.Builder

        // 안드로이드 O 버전 이상에서부터는 채널 ID를 지정해주어야 합니다.
        builder = if (Build.VERSION.SDK_INT >= Build.VERSION_CODES.O) {
            val notificationManager = getSystemService(Context.NOTIFICATION_SERVICE) as NotificationManager

            notificationManager.createNotificationChannel(
                NotificationChannel(CHANNEL_ID, CHANNEL_NAME, NotificationManager.IMPORTANCE_DEFAULT)
            )

            NotificationCompat.Builder(this, CHANNEL_ID)
        } else {
            NotificationCompat.Builder(this)
        }

        val notification = builder
            .setContentTitle("Title")
            .setContentText("Body")
            .setContentIntent(pendingIntent)
            .build()

        // startForeground()에 지정하는 정수 ID는 0이면 안됩니다.
        startForeground(1, notification)

        return START_STICKY
    }

    override fun onBind(intent: Intent): IBinder? {
        return null
    }

}
[MyForegroundService.kt]
package com.byjw.testbindservice.foregroundService

import android.content.Intent
import android.os.Build
import android.os.Bundle
import android.support.v7.app.AppCompatActivity
import com.byjw.testbindservice.R
import kotlinx.android.synthetic.main.activity_foreground_service.*

class ForegroundServiceActivity : AppCompatActivity() {

    override fun onCreate(savedInstanceState: Bundle?) {
        super.onCreate(savedInstanceState)
        setContentView(R.layout.activity_foreground_service)

        this.btn_foreground_service.setOnClickListener {
            val intent = Intent(this, MyForegroundService::class.java)

            // 안드로이드 O 이상에서는 startForegroundService()로 호출해야합니다.
            if (Build.VERSION.SDK_INT >= Build.VERSION_CODES.O) {
                startForegroundService(intent)
            } else {
                startService(intent)
            }
        }

    }
}
[ForegroundServiceActivity.kt]