이번에는 Apache Airflow를 설치하는 방법에 대해서 포스팅하도록 하겠습니다, 제가 실습한 환경은 Google Cloud의 Compute Engine이고,
이미지는 Ubuntu 18.04 LTS 였습니다.
실습
먼저 apt-get 명령어의 업데이트 및 pip 설치를 진행하겠습니다.
$ sudo apt-get update
$ sudo apt-get install python-pip -y
$ sudo pip install --upgrade pip
$ sudo apt-get install python-setuptools -y
$ sudo apt-get install python-dev -y
$ sudo apt-get install python-mysqldb -y
Apache Airflow의 기본 내장 DB는 SQLite로 되어 있는데, 이 경우에는 병렬 처리가 불가합니다.
보통 MySQL이나 PostgreSQL을 사용하는데, 여기서는 PostgreSQL을 설치하여 이를 DB로 사용할 예정입니다.
$ sudo apt-get install postgresql postgresql-contrib -y
여기서 부터는 PostgreSQL 설정을 위해 아래 명령어로 접속을 합니다.
$ sudo -u postgres psql
여기서 유저명은 jungwoon으로 하고 안에서 사용할 데이터베이스 명을 airflow로 하겠습니다.
postgres=# create role jungwoon;
CREATE ROLE

postgres=# create database airflow;
CREATE DATABASE

postgres=# grant all privileges on database airflow to jungwoon;
GRANT

postgres=# alter role jungwoon superuser;
ALTER ROLE

postgres=# alter role jungwoon createdb;
ALTER ROLE

postgres=# alter role jungwoon with login;
ALTER ROLE

postgres=# grant all privileges on all tables in schema public to jungwoon;
GRANT

postgres=# \c airflow
You are now connected to database "airflow" as user "postgres".

airflow=# \conninfo
You are connected to database "airflow" as user "postgres" via socket in "/var/run/postgresql" at port "5432”.

airflow=# \q
아마 설치가 제대로 되었다면, 홈디렉토리에 airflow란 이름의 디렉토리가 생겼을 것입니다.
이 디렉토리를 AIRFLOW_HOME이란 이름으로 ~/.bash_profile에 등록하도록 하겠습니다.
$ echo 'export AIRFLOW_HOME=~/airflow' > ~/.bash_profile
아래에서는 Apache Airflow 설치 전에 의존성이 있는 패키지들을 설치하겠습니다.
$ sudo apt-get install libmysqlclient-dev -y
$ sudo apt-get install libssl-dev -y
$ sudo apt-get install libkrb5-dev -y
$ sudo apt-get install libsasl2-dev -y
이제 본격적으로 airflow를 설치하겠습니다. 그냥 sudo pip install apache-airflow==1.10.0 를 하게되면 아래와 같은 에러가 나타납니다.
RuntimeError: By default one of Airflow's dependencies installs a GPL dependency (unidecode).
To avoid this dependency set SLUGIFY_USES_TEXT_UNIDECODE=yes in your environment
when you install or upgrade Airflow. To force installing the GPL version set AIRFLOW_GPL_UNIDECODE
그래서 아래와 같이 앞 부분에 SLUGIFY_USES_TEXT_UNIDECODE=yes 부분을 설정하고 설치를 합니다.
$ sudo SLUGIFY_USES_TEXT_UNIDECODE=yes pip install apache-airflow==1.10.0
![]()
내부에서는 기본 Executor 대신에 Celery Executor를 사용하기 위해 관련된 패키지들을 설치하겠습니다.
Celery Executor를 사용하는 이유는 병렬실행을 가능하게 하기 위함입니다.
$ sudo pip install celery
$ sudo pip install psycopg2
$ sudo pip install mysqlclient
$ sudo pip install psycopg2-binary
$ sudo pip install apache-airflow['kubernetes']
$ sudo pip install apache-airflow[celery]
$ sudo pip install apache-airflow[rabbitmq]
$ sudo pip install apache-airflow[mysql]
$ sudo pip install apache-airflow[postgres]

그 다음 RabbitMQ를 설치하도록 하겠습니다.
RabbitMQ를 설치하는 이유는 Celery Executor의 Message Broker로 사용하기 위함입니다.
메시지 브로커? (Wikipedia)

메시지 브로커(message broker), 인터페이스 엔진(interface engine[1])은 송신자의 이전 메시지 프로토콜로부터의 메시지를 수신자의 이전 메시지
프로토콜로 변환하는 중간 컴퓨터 프로그램 모듈이다. 메시지 브로커들은 응용 소프트웨어가 이전에 정의해둔 메시지를 교환할 수 있는 전기통신의 요소 또는
컴퓨터 네트워크이다. 메시지 브로커들은 메시지 지향 미들웨어(MOM)의 빌딩 블록이지만 일반적으로 MOM과 원격 프로시저 호출(RPC) 등의 전통적인
미들웨어를 대체하지는 않는다.
$ sudo apt install rabbitmq-server -y
그 다음 rabbitmq 설정 파일에 아래 코드를 추가하겠습니다.
$ sudo vi /etc/rabbitmq/rabbitmq-env.conf

# 아래 설정 추가
NODE_IP_ADDRESS=0.0.0.0
그 다음 rabbitmq를 실행하겠습니다.
$ sudo service rabbitmq-server start
airflow 데이터베이스를 한번 초기화 하고 airflow의 설정을 바꾸기 위해 vi으로 ~/airflow/airflow.cfg 파일을 열도록 하겠습니다.
$ airflow initdb
$ sudo vi ~/airflow/airflow.cfg
아래 내용을 수정합니다 (~/airflow/airflow.cfg)
executor = CeleryExecutor
sql_alchemy_conn = postgresql+psycopg2:///airflow
broker_url = amqp://guest:guest@localhost:5672//
result_backend = amqp://guest:guest@localhost:5672//
설정이 끝났으면 다시 airflow DB 설정을 초기화 합니다.
$ airflow initdb
여기까지 문제가 없다면 dag 파일을 넣을 dags 폴더를 생성합니다.
$ mkdir -p ~/airflow/dags
이제 위의 경로에다가 만들어진 dag 파일을 넣고 아래 명령어로 list 확인을 하면 파이썬 내부의 문제들이 없으면 만들어진 dag가 잘 보일것입니다.
$ airflow list_dags
설치가 다 되었으면 아래 명령어로 scheduler, worker, webserver를 띄웁니다.
$ airflow scheduler -D
$ airflow worker -D
$ airflow webserver -p 8080 -D
-D 옵션은 데몬 형태로 띄우는 옵션이고, -p는 웹 서버의 포트를 임의로 지정한 것입니다. 저는 여기서 8080으로 포트 번호를 지정했습니다.
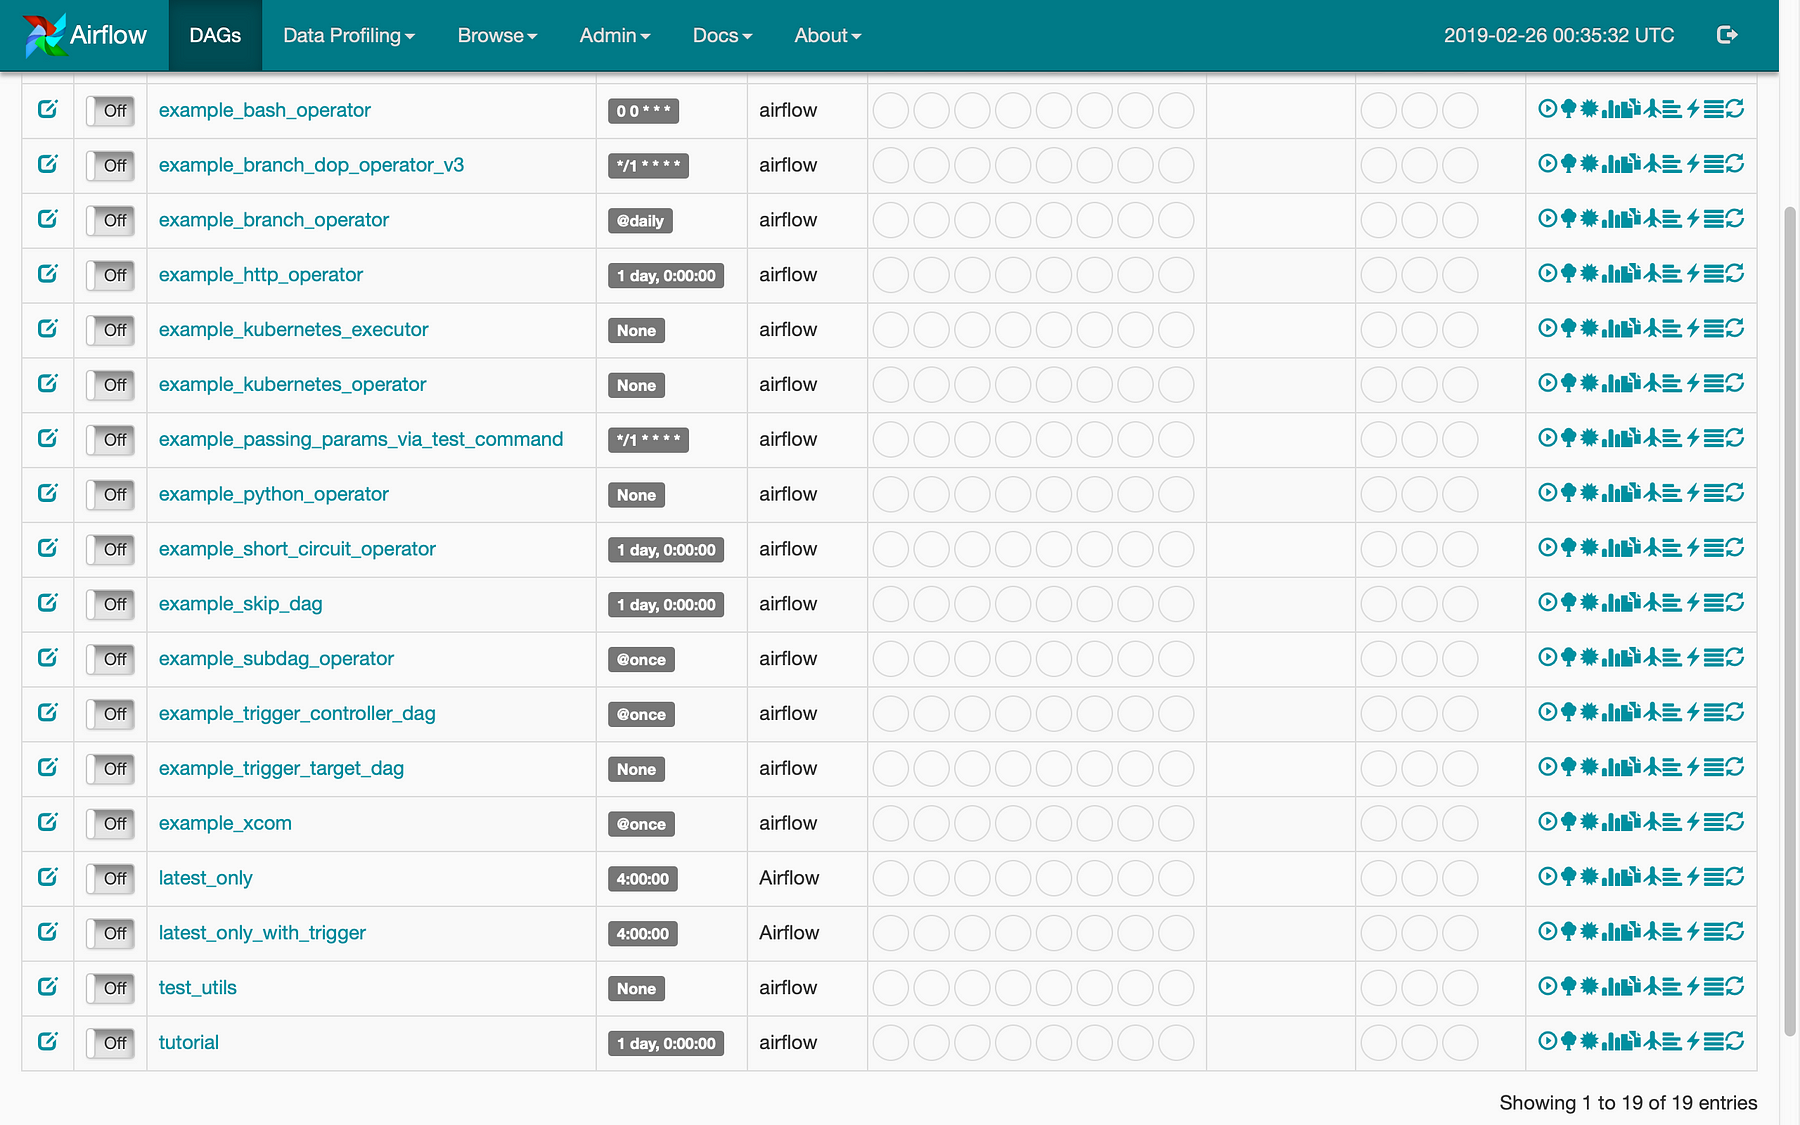
여기까지 문제가 없었다면, 브라우저에서 아래 주소로 웹 서버를 확인할 수 있습니다.
http://[서버 주소]:8080